Quick manual
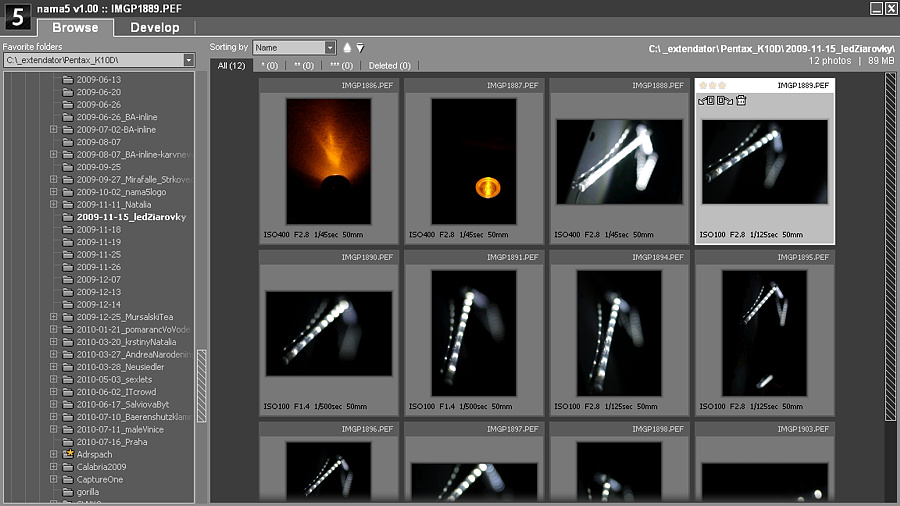
Photo browse mode

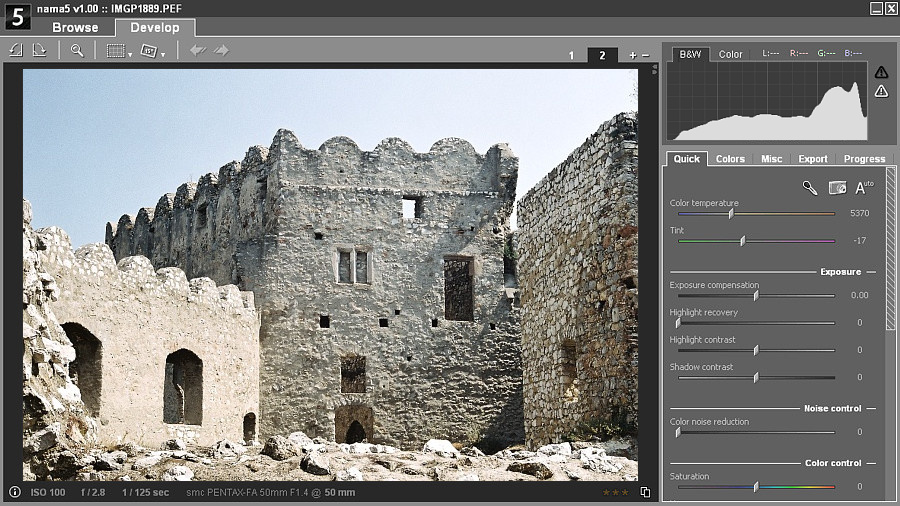
Develop mode

Redo (hotkey: Shift+backspace)
Rotate 90° counter-clock-wise (Ctrl+E)
(hotkey: Z)
(hotkey: C)
(hotkey: R)
(hotkey: Ctrl+number)
(hotkey: Ctrl+number)
(hotkey: space)
left drag - move slider
right click - reset to default value
- pick (hotkey: Shift)
- as shot (hotkey: Shift+S)
- auto (hotkey: Shift+A)
White Balance
Color temperature admix cold or warm tones to original photography to compensate color temperature of a light source. The temperature of light source is expressed in units of degrees Kelvin (K) and it goes from warm tones of candle light (2 000 K) over neutral tones of daylight (6 500 K) to cold tones of overcast day (up to 12 000 K).
Tint control corrects the color balance mismatches once the desired color temperature has been achieved. You can remove any remaining colour cast by shifting towards the green tone at position -100 or towards the purple tone at position +100.
When a file is opened the white balance controls are set to fit camera setting which can be restored by the As shot option. It is not necessary to change this setting in majority of cases. If so, the best choice is to use the Pick white balance option to select some point on a picture which is desired to be the neutral one. White balance is automatically adjusted to make that point as neutral as it is possible. The last option is to use the Auto white balance which automatically changes the color balance to neutralize average tone of a picture.
Exposure
Exposure controls give you possibility for exposure compensation so you are able to lighten or darken a photography later after a picture is taken. Moreover with recovery tools you can control exposition also localy. Advantage of changing the exposure in RAW photography is higher dynamic range of information stored in RAW files (at least 12-bits per pixel). This enables you to avoid posterization during exposure changes or recover highly exposed areas where information is usually lost with conversion to JPEG due to lower dynamic range of JPEG files (8-bits per pixel).
Exposure compensation. In the nama5 RAW processor there is an option to compensate exposure in the range +/-3 EV. Difference of 1 EV corresponds to a standard power-of-2 exposure step, commonly referred to as the "stop".
Recovery tools. Highlight recovery and Fill light control allow you to take the best from the high dynamic range of a RAW photography by adjusting the exposure locally with the masking technique. Fill light brightens shadows while keeping mid-tones and highlights almost intact. On the other side, Highlight recovery darkens only highly exposed parts while masking the others.
Contrast
Contrast controls allow you to gain the maximum from an output (usually 8-bit) dynamic range by adjusting an overall contrast separately in the dark parts (Shadow contrast) and separately in the light parts (Highlight contrast) of your photo.
Both controls have an arbitrary range from -100 to +100. Positive values stretch shadows or highlights to the edge of dynamic range what creates more contrast. On the contrary, negative values compress shadows or highlights towards the centre of dynamic range what reduces the contrast and introduces more details to shadows or highlights as more brightness levels emerge there.
Color controls
These controls allow you to emphasize or reduce saturation of colors in your photos and slightly correct their hue mismatch. All color controls have an arbitrary range from -100 to +100.
All color controls work satisfactorily only when correct white balance is set.
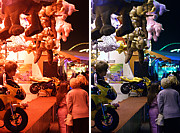
Saturation fades (negative values) or enhances (positive values) all colors equally.
Vibrance in negative values fades only over-saturated colors and slightly adds contrast to them. With positive values it shines up colors while protecting skin tones on correctly white-balanced photos.
Hue control is available to slightly correct hue of colors which may change during the process. All colors are rotated equally in the color circle from yellow to green (positive values) or from yellow to orange (negative values).
Noise removal
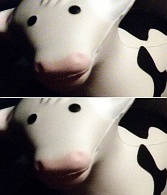
Sharpening, luminance and color denoising, plus hot-pixel filtering is available via the loupe tool on the pixel-to-pixel preview.


